DIY Camera Installation: Essential Points to Consider
- Understanding Its Function: A backup camera primarily serves the purpose of helping you backup your vehicle. If you need front-view or continuous rear-view capabilities, you will need to double check whether your AV receiver will allow the camera to provide a continuous video feed – perfect for big trucks or RVs.
- Necessary Tools and Supplies: Gather essential tools like a panel tool, wire cutter/stripper, crimp connectors. Don’t forget the tools needed to remove the dashboard radio.
- Simplify Wiring: Each camera model has different wiring instructions. Some cameras require power connections near the radio while others can use compatible reverse lights. Regardless, make sure to wire the camera properly for power and ground and connect it to the radio for video output.
- Consider Cable Length: Installing a backup camera means estimating how far its video cable needs to reach from its exterior mounting to the dashboard screen. Be prepared for potential drilling or modifications to fit your vehicle’s layout. Estimate the cable length from the camera to the dash. Carefully consider any pinch points or problem areas that could require extra length.
Backup Camera Insights DIY Vehicle Backup Camera Setup
- Wiring Made Easy: Wiring guidelines differ among cameras, involving power and video connections. For an optimal setup, consider installing the camera concurrently with a new aftermarket radio.
- Video Cable Length Concerns: Extending the camera’s video cable from exterior mounting to the dashboard screen involves intricate routing. You may have to make modifications to the vehicle.
How to Install a Backup Camera in Your Car
Make sure to read your manufacturer’s instructions for installing a diy car backup camera before starting
General Step-by-Step Truck, SUV and Car Rearview Camera Installation Guide
Step 1: Plan Your Installation
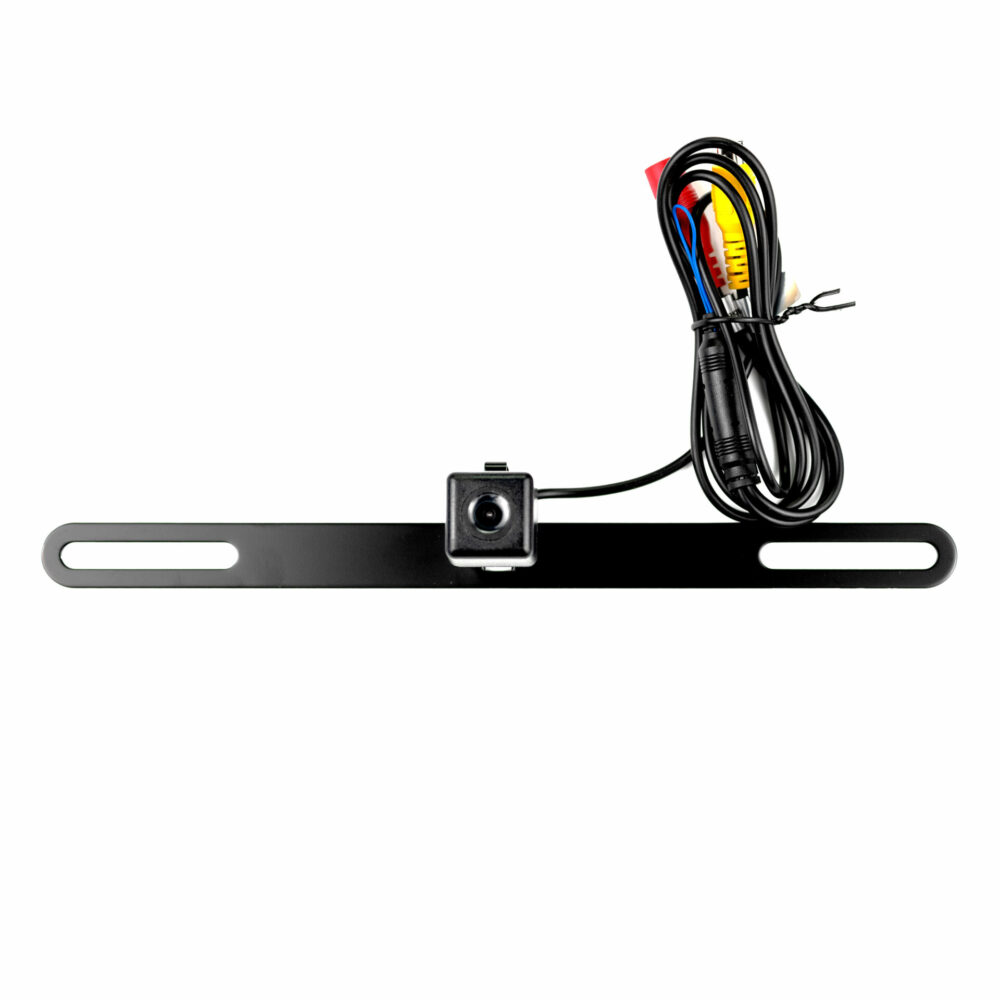
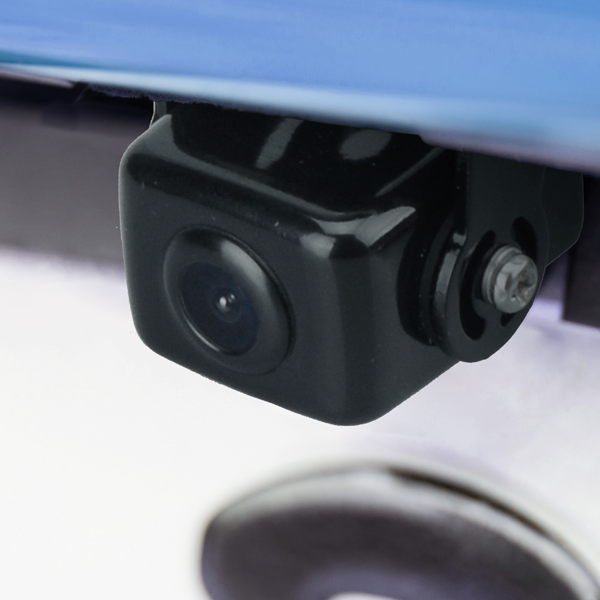
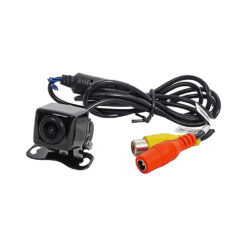
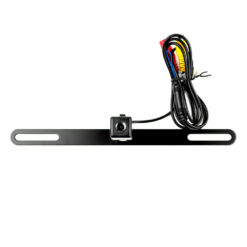
- Choose the Camera Location: Common locations are above the rear license plate or mount it directly on the trunk. Some of our backup cameras come with a license plate mount built in.
- Plan the Cable Route: Determine how you’ll route the power and video cables from the camera to the display monitor inside the car. For reference, our backup cameras usually come with 21 feet of cable. Big trucks may need more.
Step 2: Mount the Camera
- Prepare the Mounting Area: Clean the area where you’ll mount the camera. You can use alcohol wipes. Make sure it is dry before preceding.
- Drill Mounting Holes (if needed): Carefully drill holes for mounting the camera and for routing the cable into the trunk or cabin. Be mindful of what’s behind the area where you are drilling. Alternatively, use double sided tape (which we typically provide with our backup cameras).
- Install the Camera: Secure the camera using fasteners such as screws or adhesive pads.
Step 3: Run the Cables to Connection Points
- Route the Video Cable: Run the video cable from the camera to the front of the vehicle where the display monitor will be. Use cable ties to secure the cable along the way. A lot of times, you can trace where other wires run from the back to the front.
- Route the Power Cable: The power cable often connects to the reverse light power wire in the rear of the vehicle since it only becomes operational when the vehicle is put into reverse.
Step 4: Connect to Power
- Identify the Reverse Light Wire: Use a multimeter (voltage meter available at most hardware stores) to identify the reverse light wire in the tail light assembly. You may need a second person to make sure the car doesn’t roll or move once you shift it in reverse. Make sure the emergency brake is engaged.
- Connect the Camera Power Wire: Splice the camera’s power wire into the reverse light’s power wire. Ensure a secure and insulated connection. Use electrical tape and wire crimp caps where needed.
- Special Note: if the manufacturer’s instructions tell you to disconnect the battery before installing, make sure to adhere to their instructions. If the camera experiences a sudden surge of electricity or isn’t properly grounded, it can cause the camera to short. You could end up spending a lot of time troubleshooting wires and connections for a camera that no longer works.
Step 5: Install the Display Monitor if Separate from Car AV Receiver
- Choose a Location for the Monitor: Common locations are on the dashboard and on occasion the rearview mirror. Make sure not to block your view out of the front windshield.
- Mount the Monitor: Follow the manufacturer’s instructions to securely mount the display monitor.
- Connect the Video Cable: Plug the video cable into the monitor.
Step 6: Test the System
- Check Connections: Ensure all cables are securely connected.
- Test the Camera: Turn on the car and shift into reverse. The backup camera should activate and display an image on the monitor.
Step 7: Finalize Installation
- Secure All Cables: Use cable ties and clips to neatly secure all wiring.
- Reassemble Any Removed Panels: If you had to remove any interior panels or trim, reattach them.
Tips and Warnings
- Vehicle Manual: Consult your vehicle’s manual for any specific instructions or warnings.
- Battery Disconnection: Consider disconnecting the car battery during installation to avoid short circuits.
- Waterproofing: Ensure the camera and all external connections are waterproof and secure.
Consider reading more information on forums or watch youtube videos before you attempt to do this yourself.
Getting a rear camera isn’t just about making parking easier—it’s about keeping you and everyone else on the road safe.

