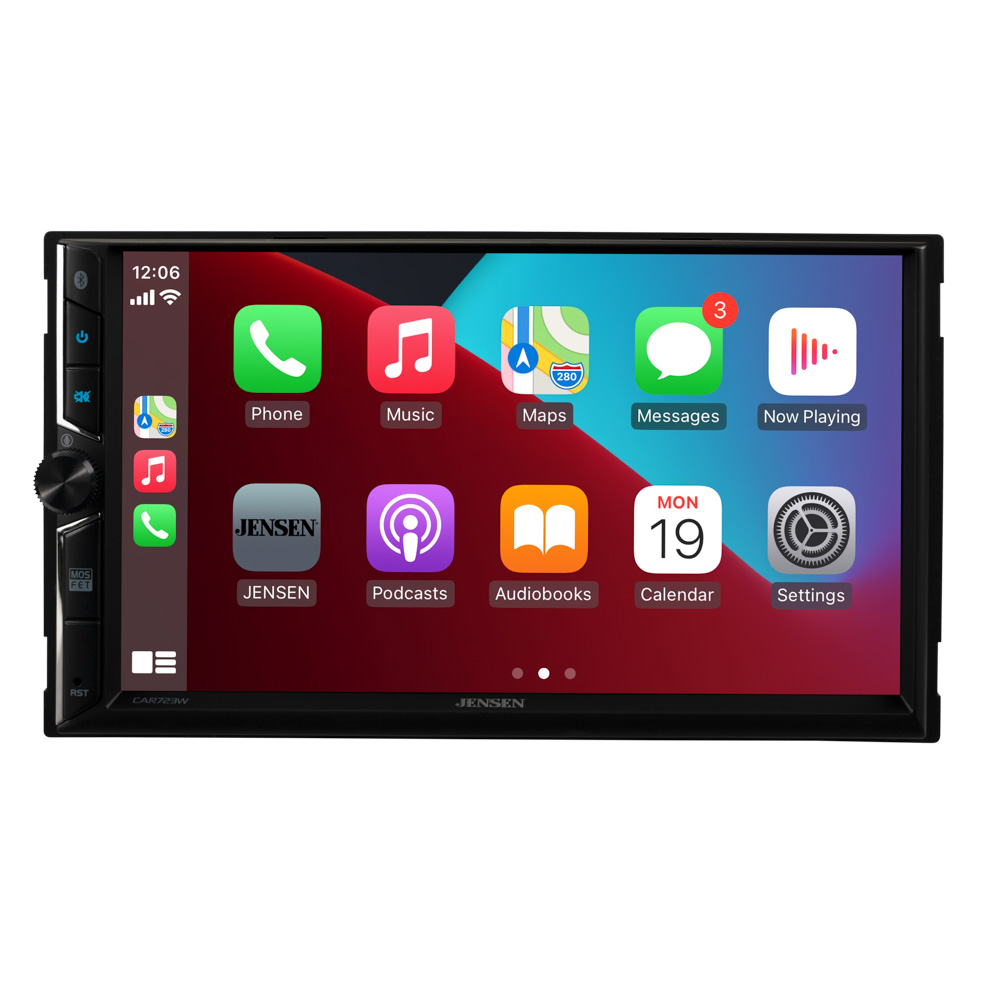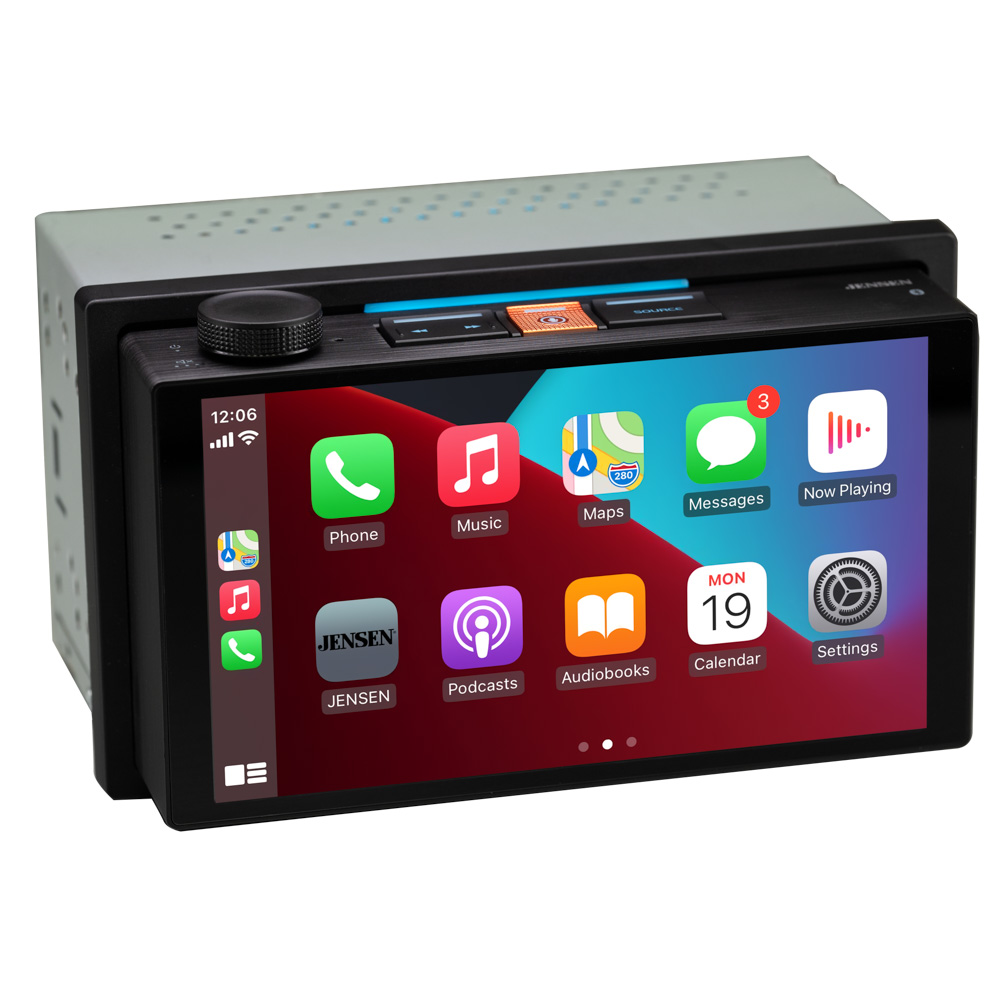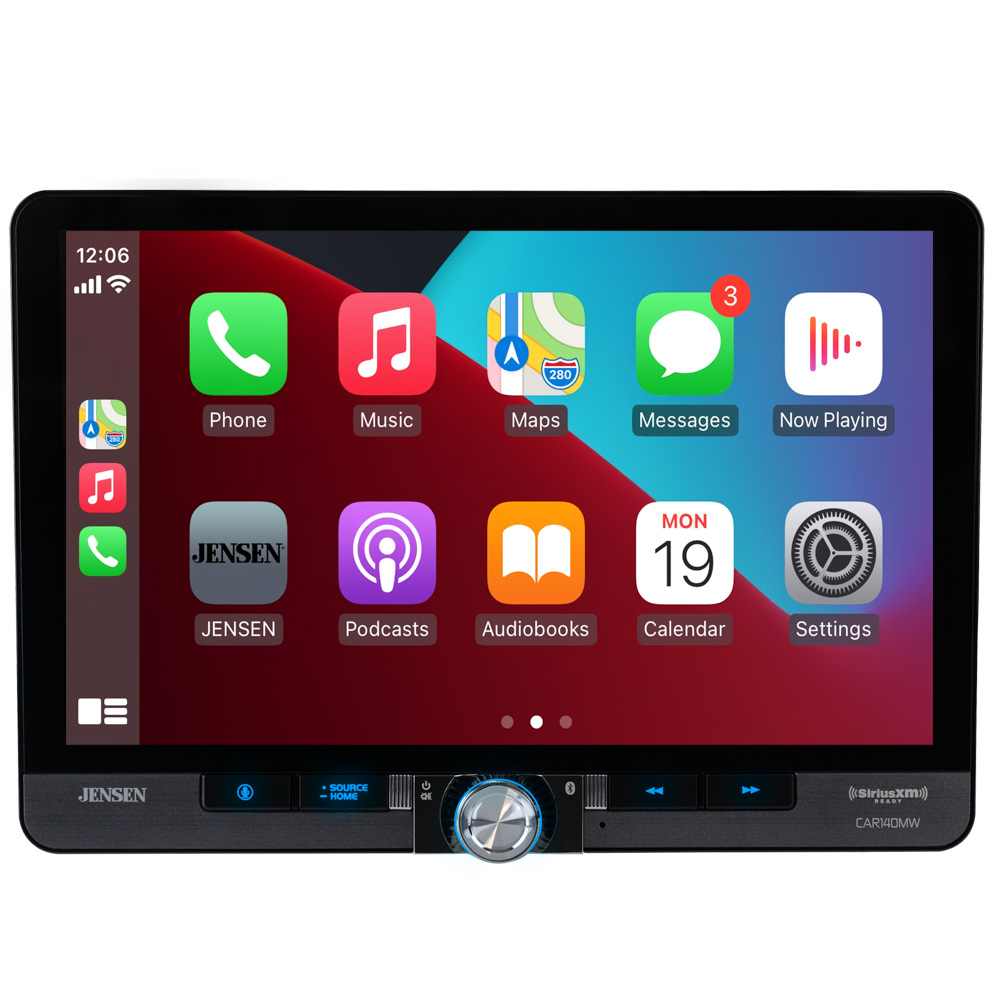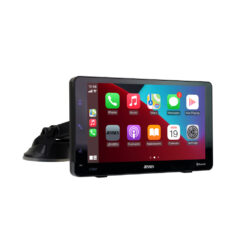


Navigate
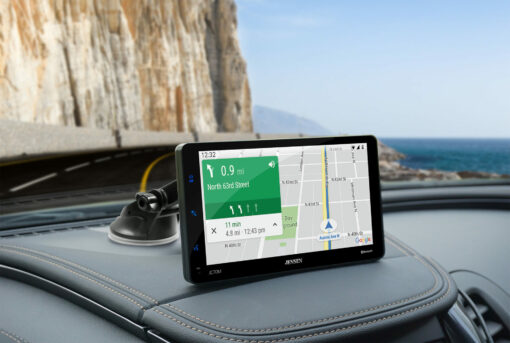
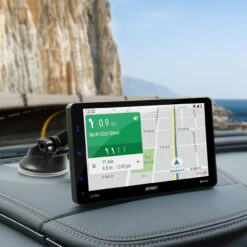
What’s the fastest route home?
Communicate
Sushi for dinner?
Jess
Sure!
Me
Enjoy the Drive
Play my Pick Me Up playlist
How does it work?
Wired USB or Wireless
connection to your phone

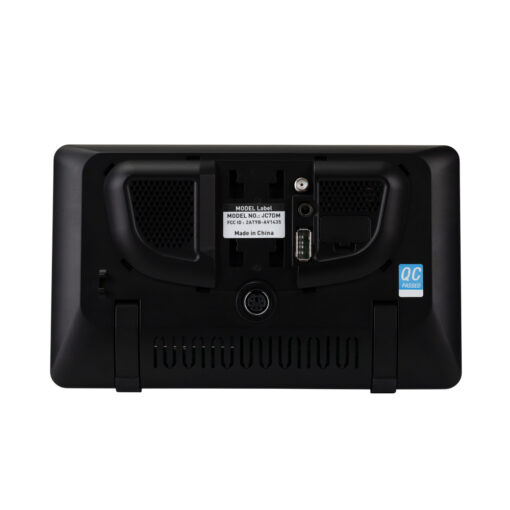
Send audio to your existing car stereo through the 3.5mm aux output or broadcast to an FM radio station
Ready in 4 Simple Steps

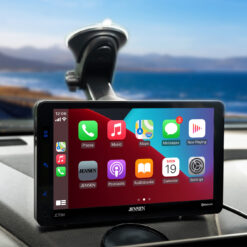
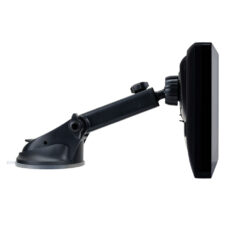
Step 1. Mount the Screen
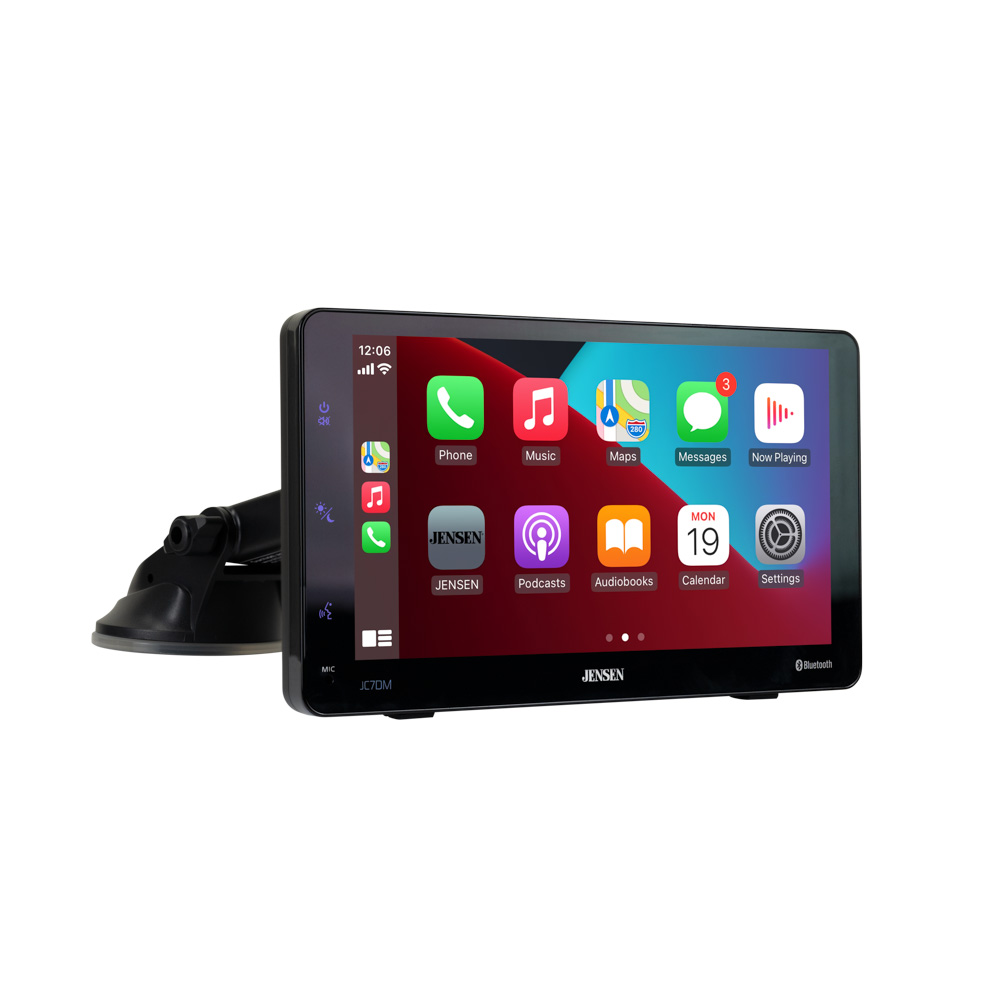
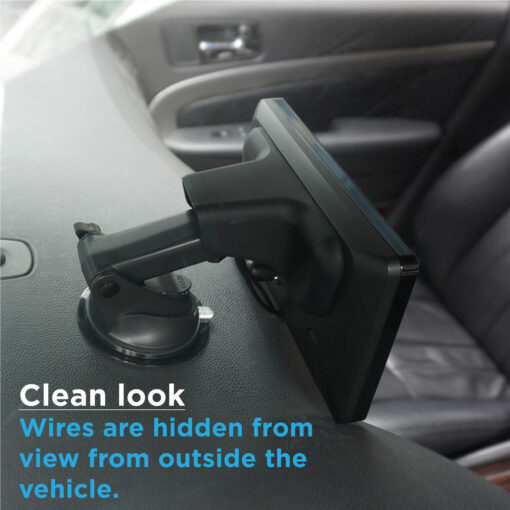
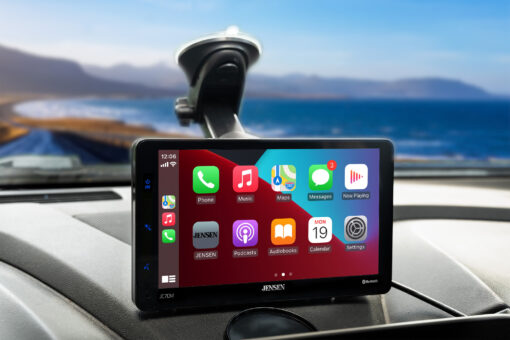
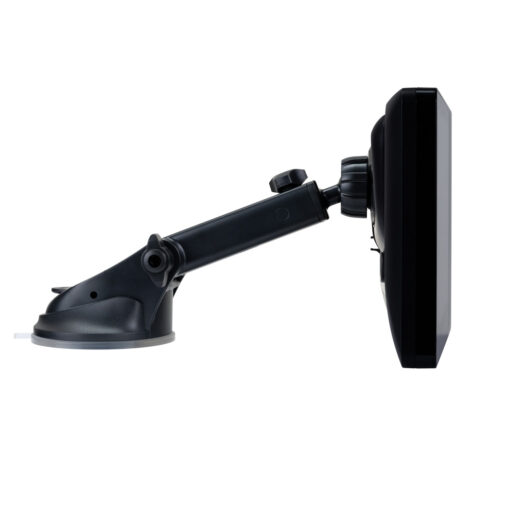
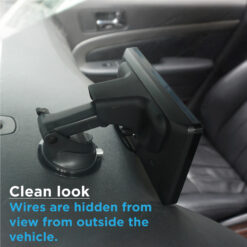
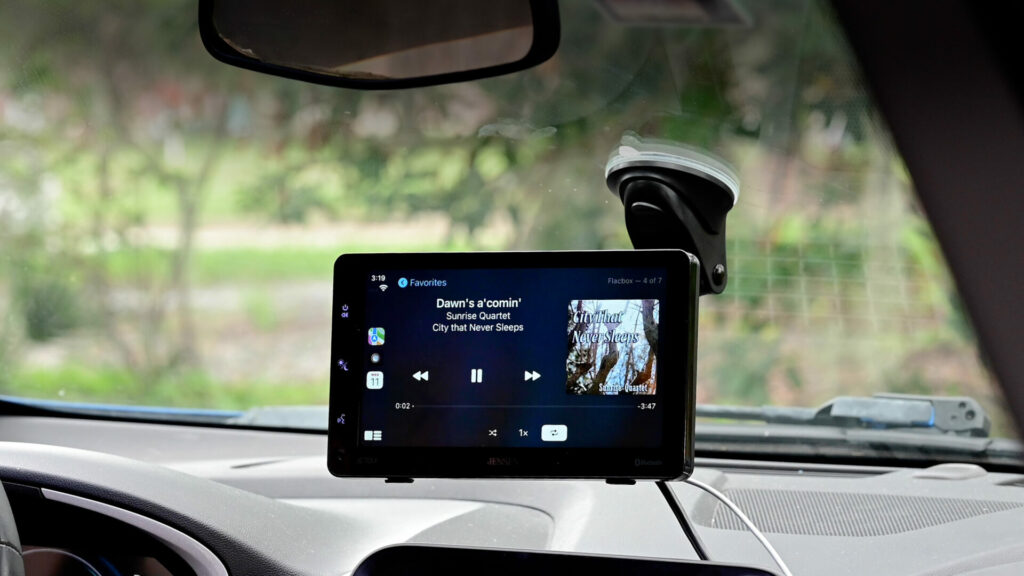
The suction cup mount attaches quickly to your dashboard or windshield.

Step 2. Plug into power
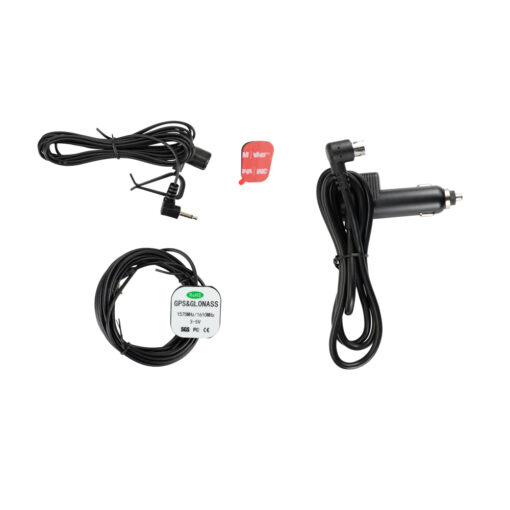
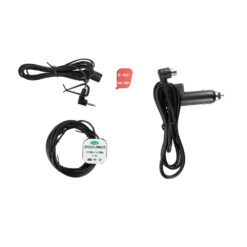
The included power adapter plugs into your car’s 12V accessory outlet.Use the USB charge port to power your phone.

Step 3. Send audio to your vehicle
using a 3.5mm aux output or the FM transmitter

Step 4. Connect your phone
wirelessly or via USB

Step 5. Start your journey
with Apple CarPlay and Android
| Playback | Digital Audio |
|---|---|
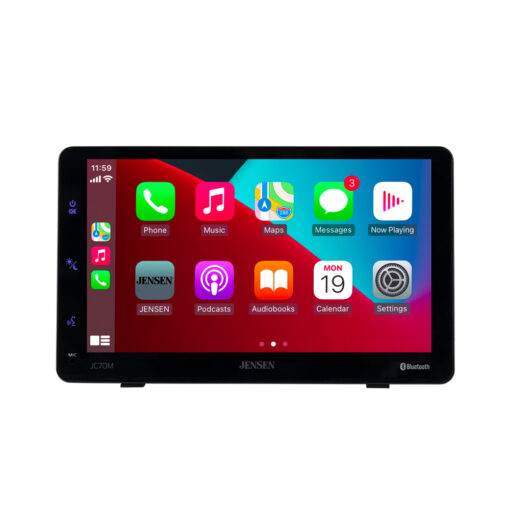
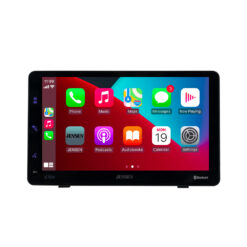
| Screen Size | 7" |
| Phone Connectivity | CarPlay Wireless, Android |
| Car Connectivity | 3.5mm Aux, FM Transmitter |
| Mounting Options | Dash Mount, Suction Cup |
| Power | 12V Adapater |
| Bluetooth Features | External Microphone, Internal Microphone, Voice Activation Button |
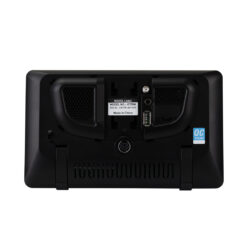
| Inputs | USB |
| USB Charge | 2.1A |
| Built-In Speaker | Yes |
Documents
Firmware
Firmware Update(s):
THIS UPDATE ADDRESSES THE FOLLOWING:
Updates the Safety Notice screen to disappear automatically after 2 seconds without touch confirmation.
Note:
1.Software is not interchangeable between models. Please do not attempt this update on any other model other than the JC7DM.
2. Do not remove the USB stick until the radio says to do so. If removed during the update, the radio will be non-functioning.
Upgrade method:
1. Put all the files contained in the Software folder onto the USB thumb drive
2. Plug the USB thumb drive into the USB port of the JC7DM and click Confirm in the dialog box.
3. The update will begin automatically and continue to upgrade the APP and MCU.
4. Once the update has completed, click OK in the dialog box when it appears.
Mounting Information
– Download the 3M Adhesive Installation Guide (EN/ES)
How to Improve Dashboard Mounting Strength
If the surface of your dash is not flat or has texture, please use the included plastic disc with 3M tape to improve dashboard mounting strength.
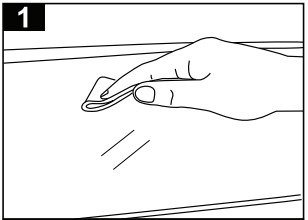
Clean the Surface:
Use a cleaning cloth to wipe down the surface where you want to attach the base. Ensure the area is free from dust and dirt for proper adhesion.
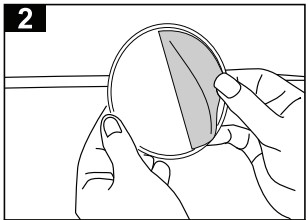
Peel the Adhesive:
Remove the protective film from the adhesive side of the pad to expose the sticky surface.
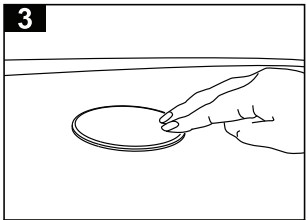
Place the Adhesive Pad:
Firmly press the adhesive pad onto the cleaned surface, making sure it’s aligned as needed.
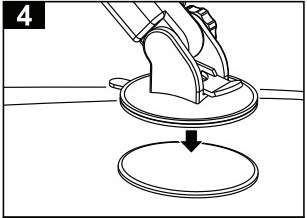
Attach the Suction Cup Mount:
Press the suction base of your device onto the adhesive pad, securing it in place for a stable hold.
Cómo mejorar la resistencia de montaje del tablero
Si su superficie del tablero no es plana o tiene textura, por favor utilice el disco de plástico incluido con cinta 3M para mejorar el apego de la taza de aspiración.

Limpie la superficie:
Use un paño de limpieza para limpiar la superficie donde desea colocar la base. Asegúrese de que el área esté libre de polvo y suciedad para une correcta adhesión.

Despegue el adhesivo:
Retire la película protectora del lado adhesivo de la almohadilla para exponer la superficie pegajosa.

Coloque la almohadilla adhesiva:
Presione firmemente la almohadilla adhesiva sobre la superficie limpia, asegurándose de que esta alineada según sea necesario.

Fije el soporte de succión:
Presione la base de succión de su dispositivo sobre la almohadilla adhesiva, asegurándolo en su lugar para una sujeción estable.

