Shop Jensen


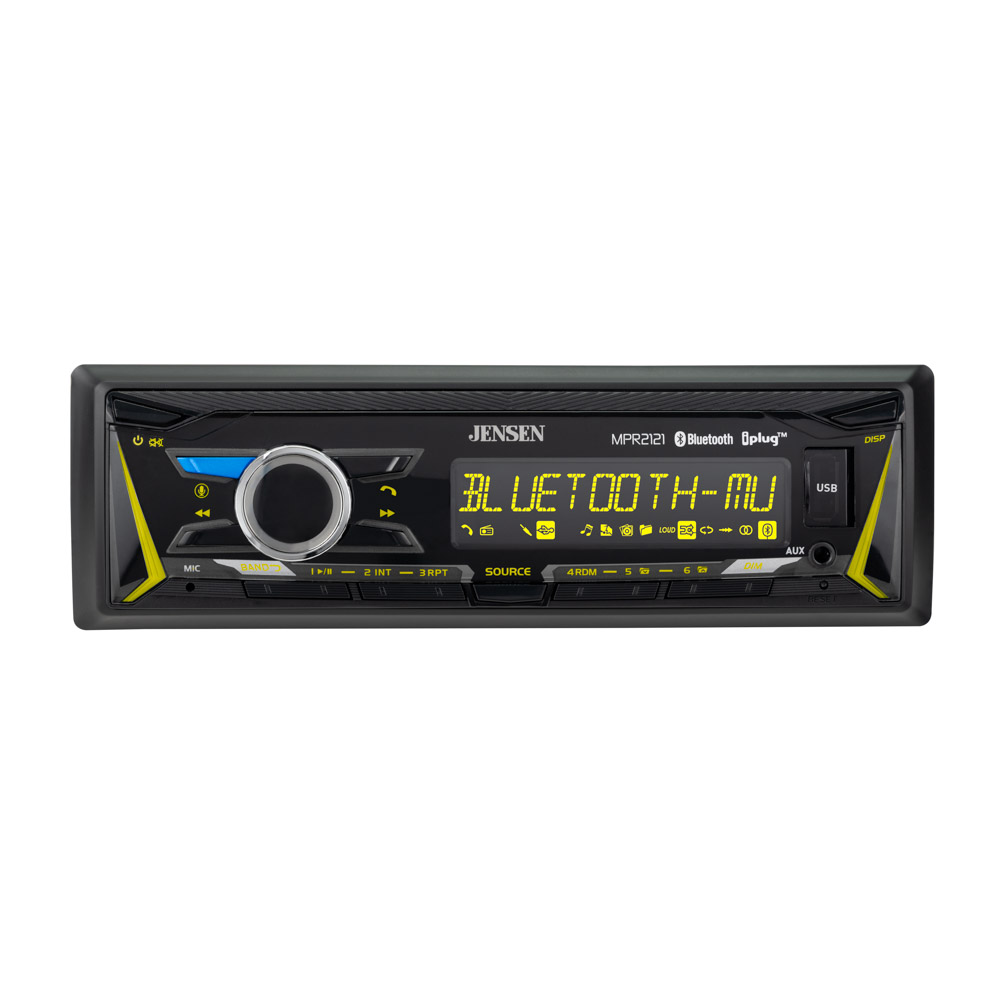
Mechless Receiver with Bluetooth and RGB Custom Colors
MPR2121
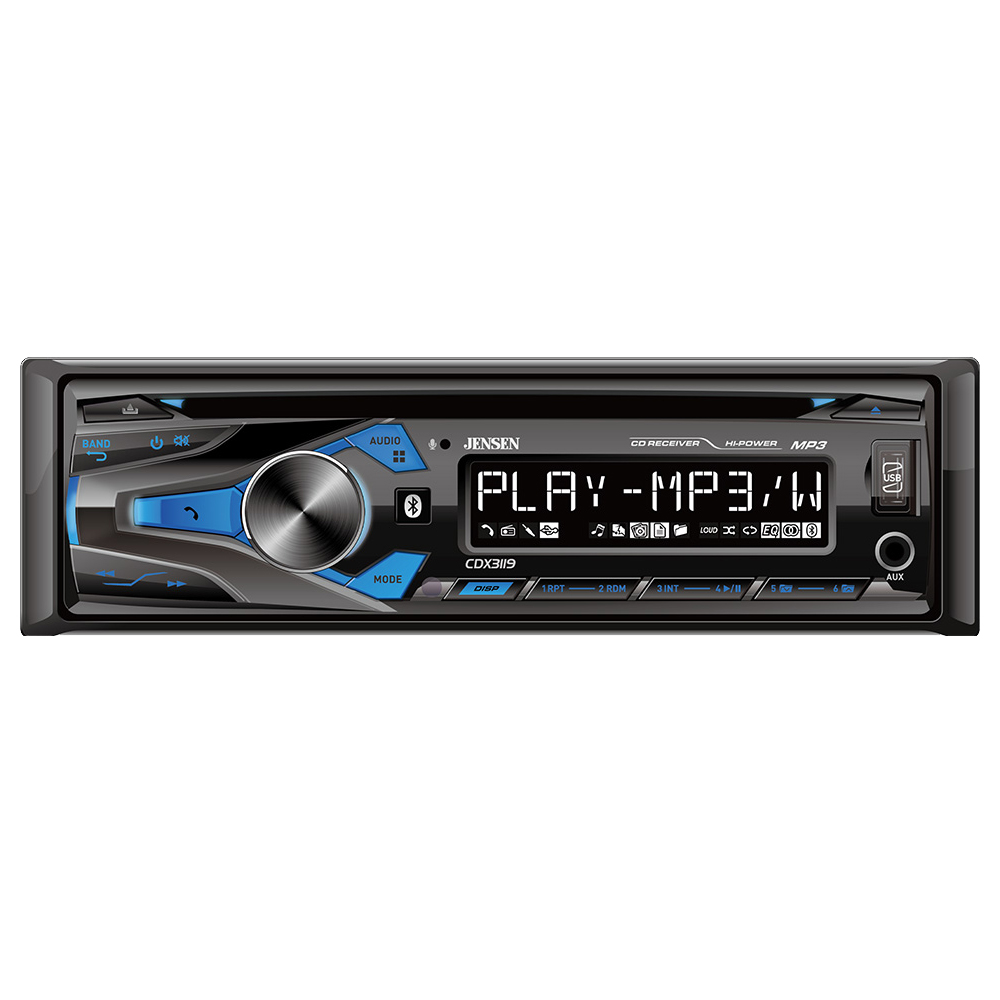
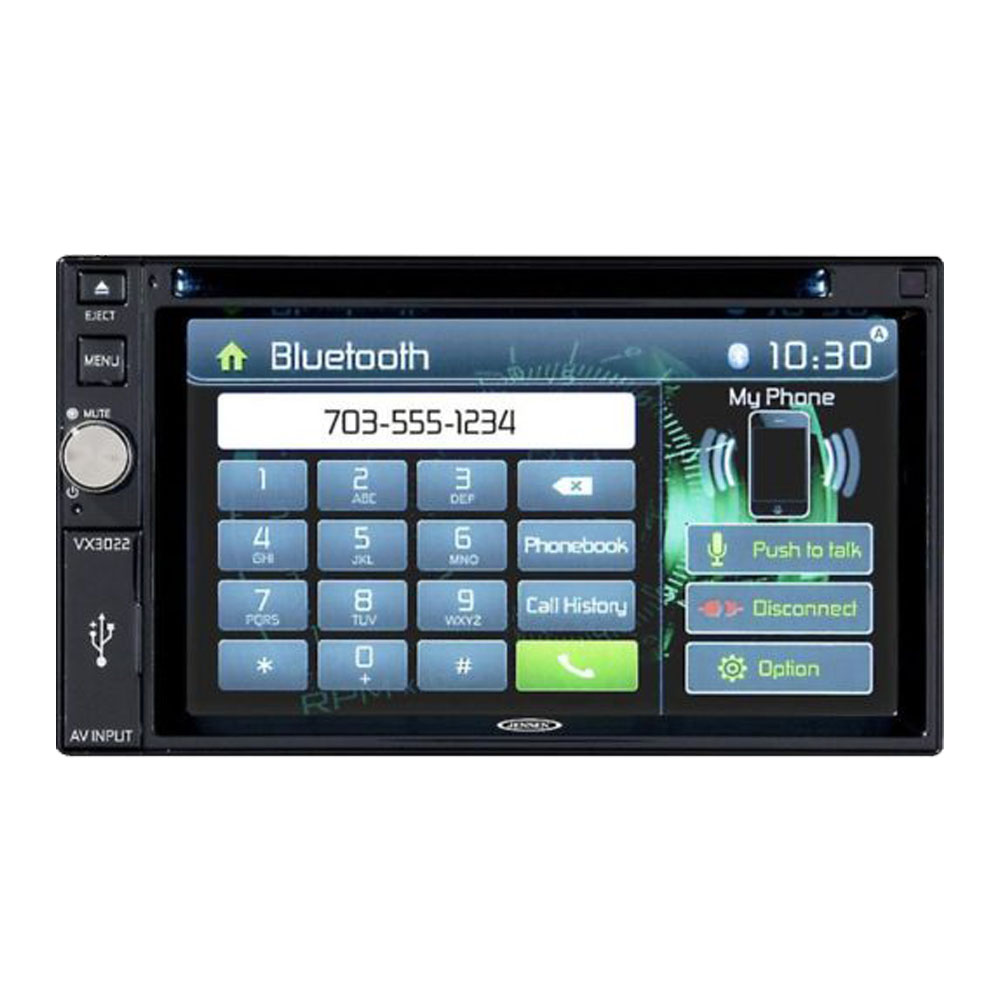
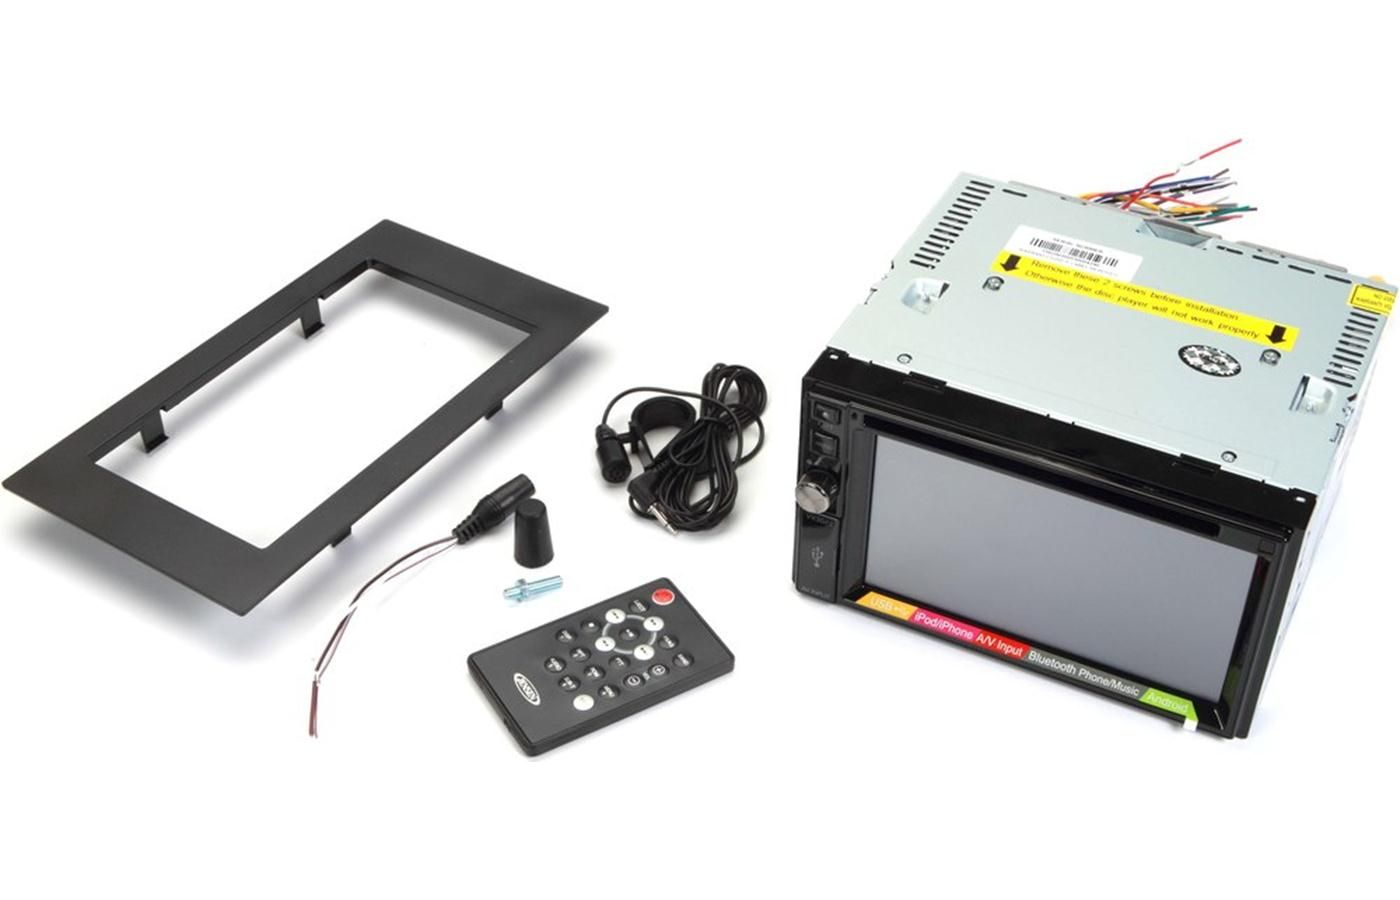
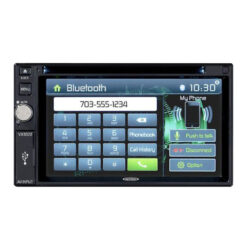
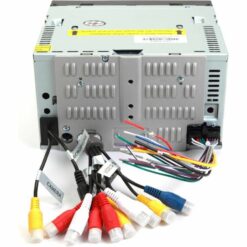
AM/FM CD Receiver with Built-In Bluetooth
CDX3119
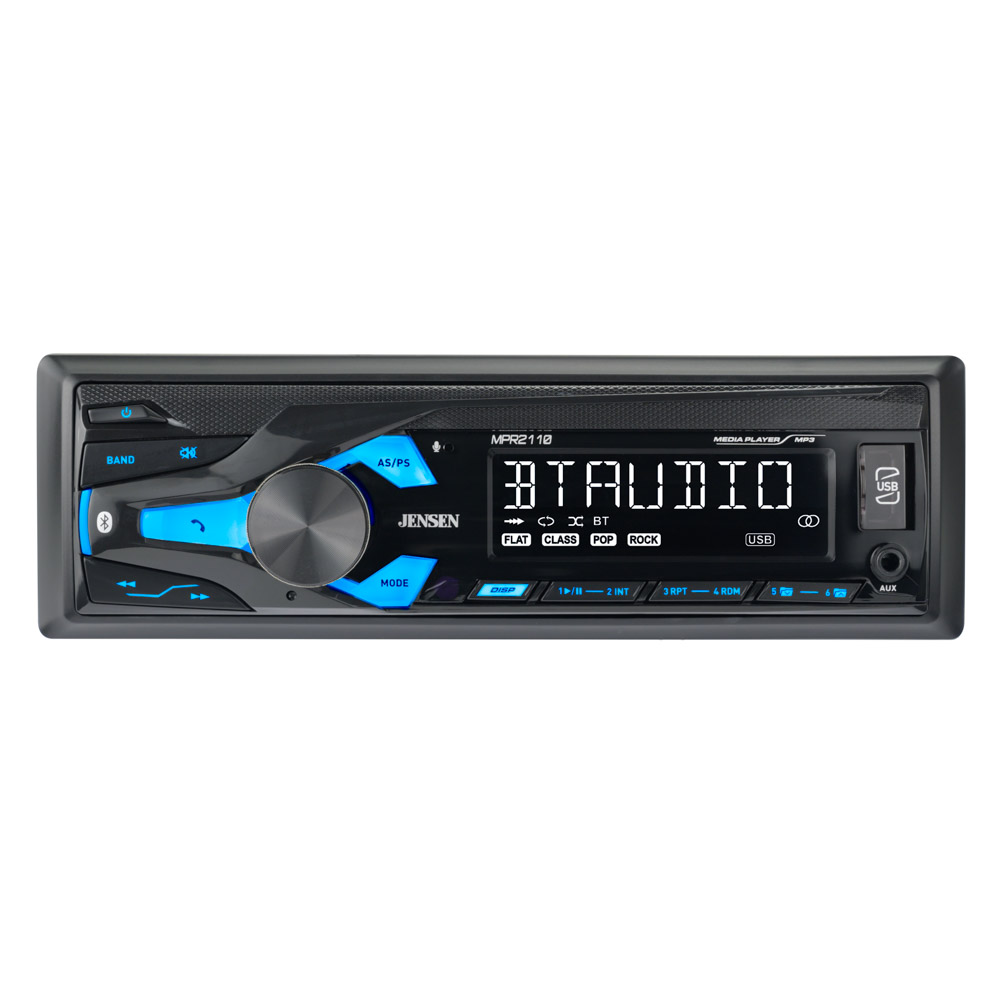
Mechless Receiver with Bluetooth
MPR2110
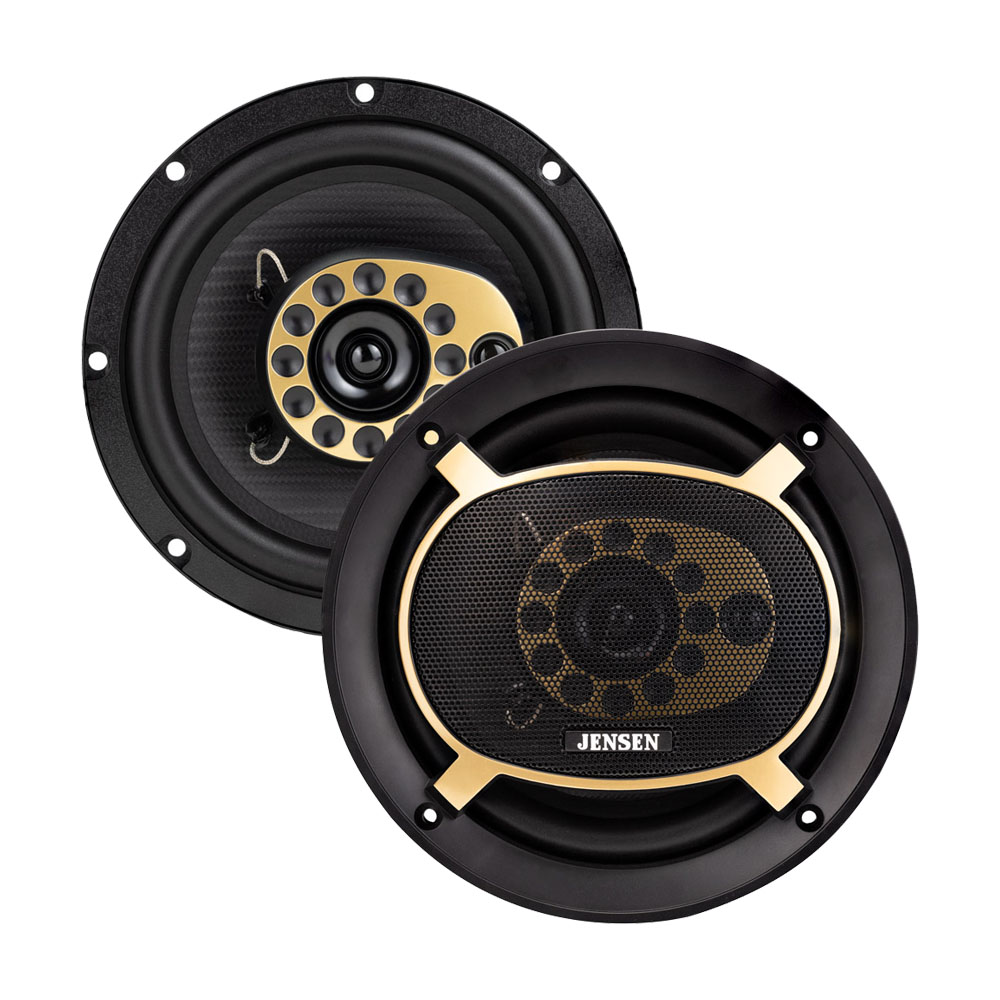
6.5" Full Range TRIAX
JS65T
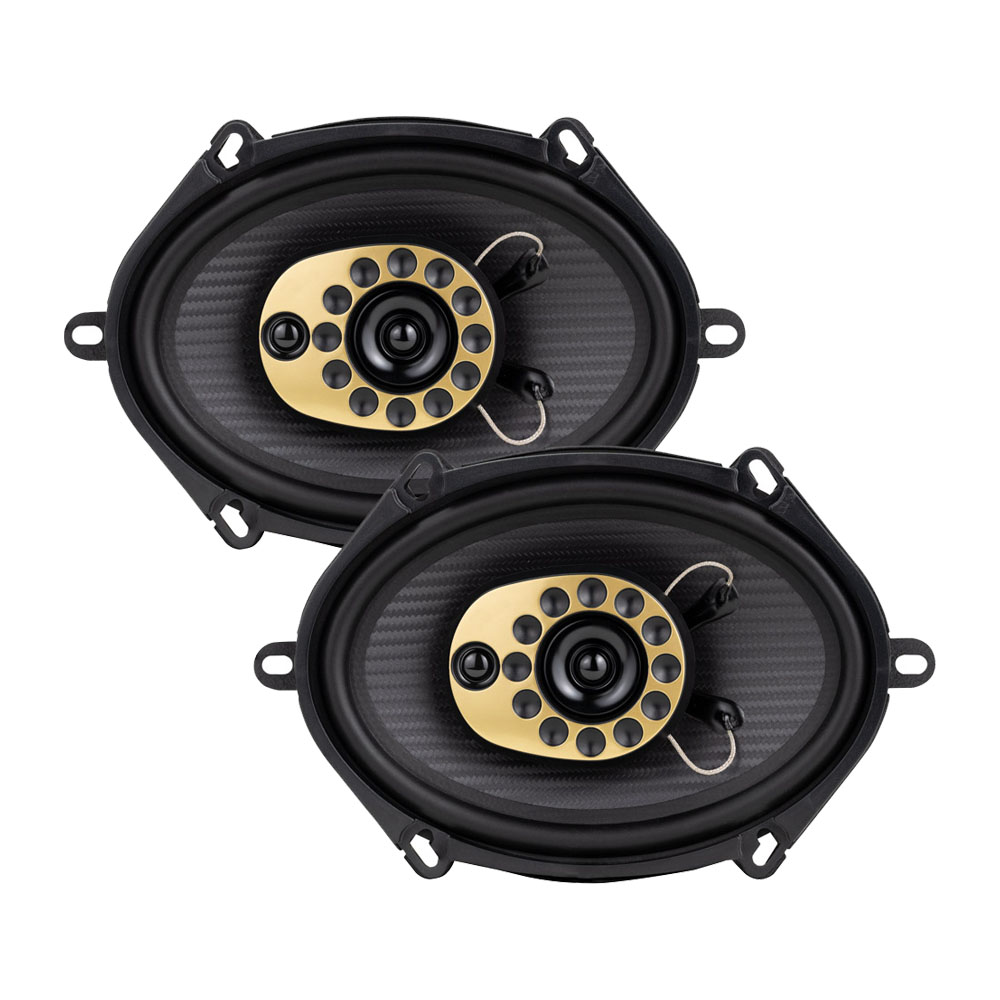
6″ x 8″ Full Range TRIAX
JS68T
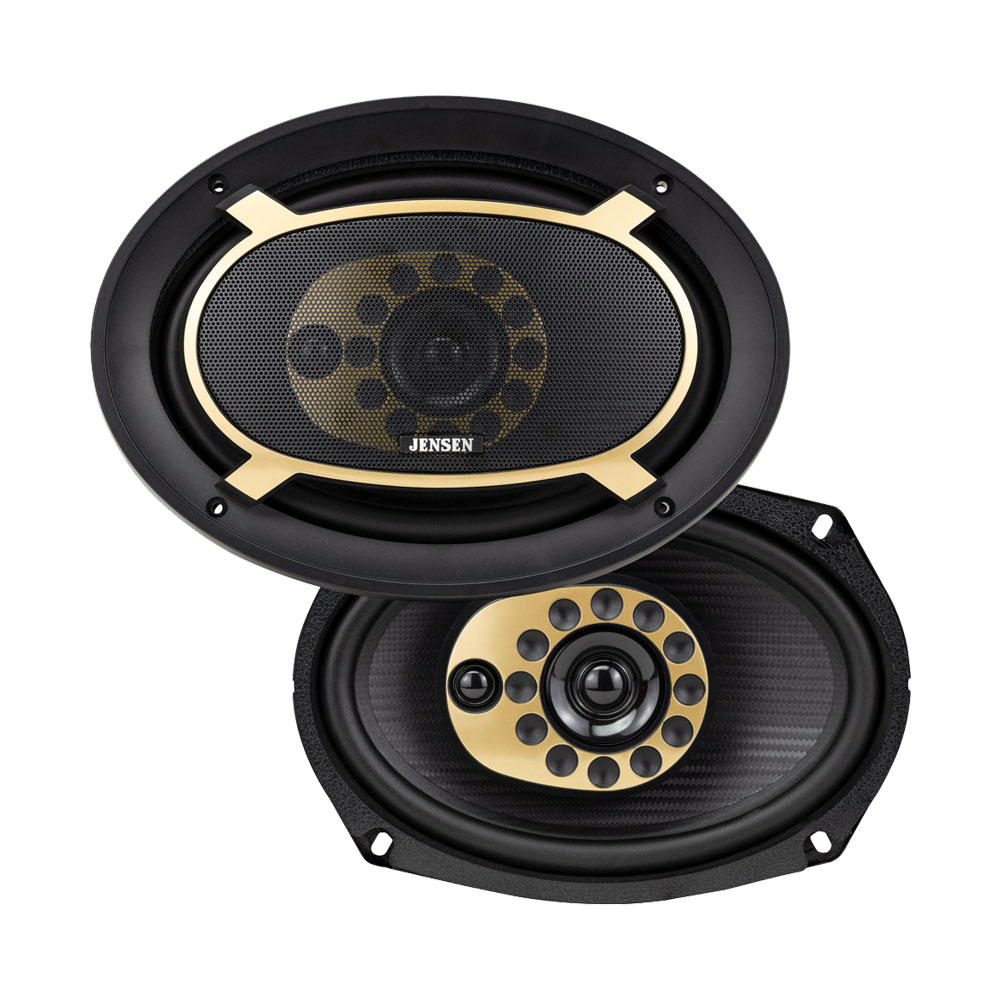
6″ x 9″ Full Range TRIAX
JS69T
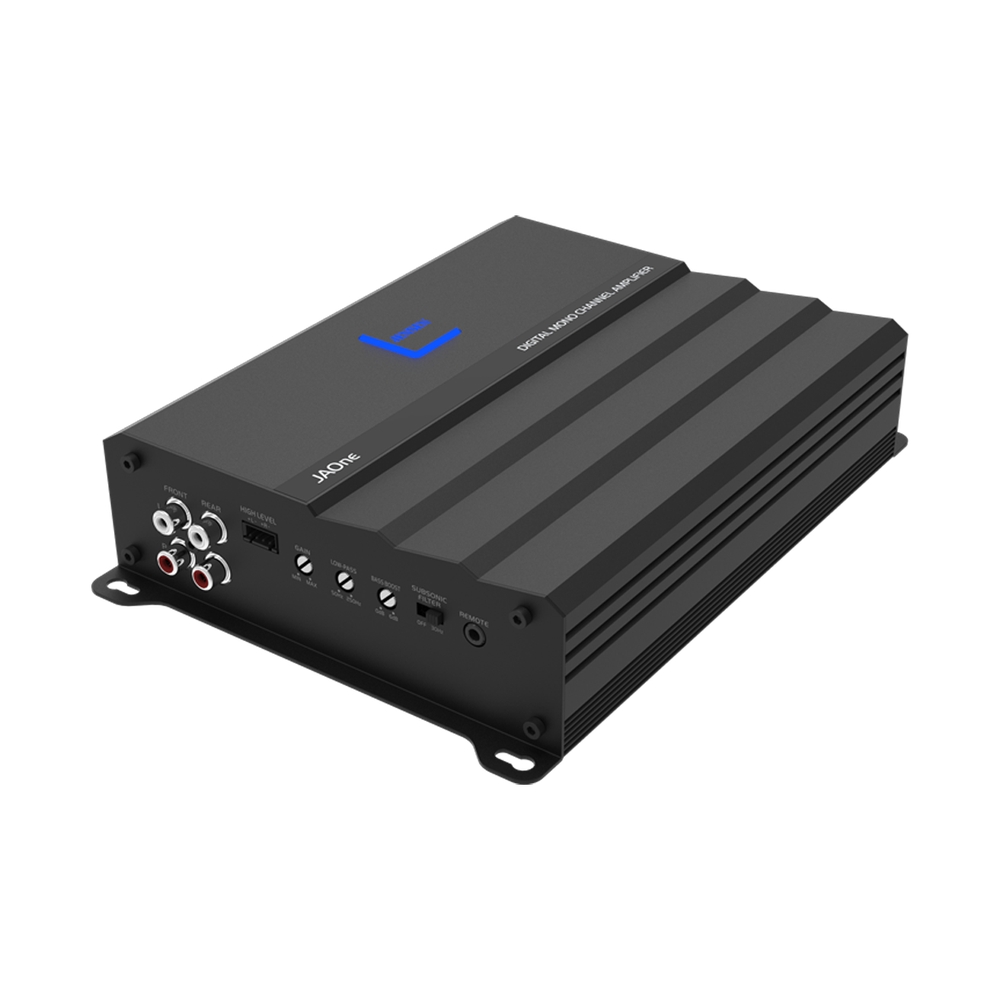
1-Channel Class D MOSFET Amp
JAOne
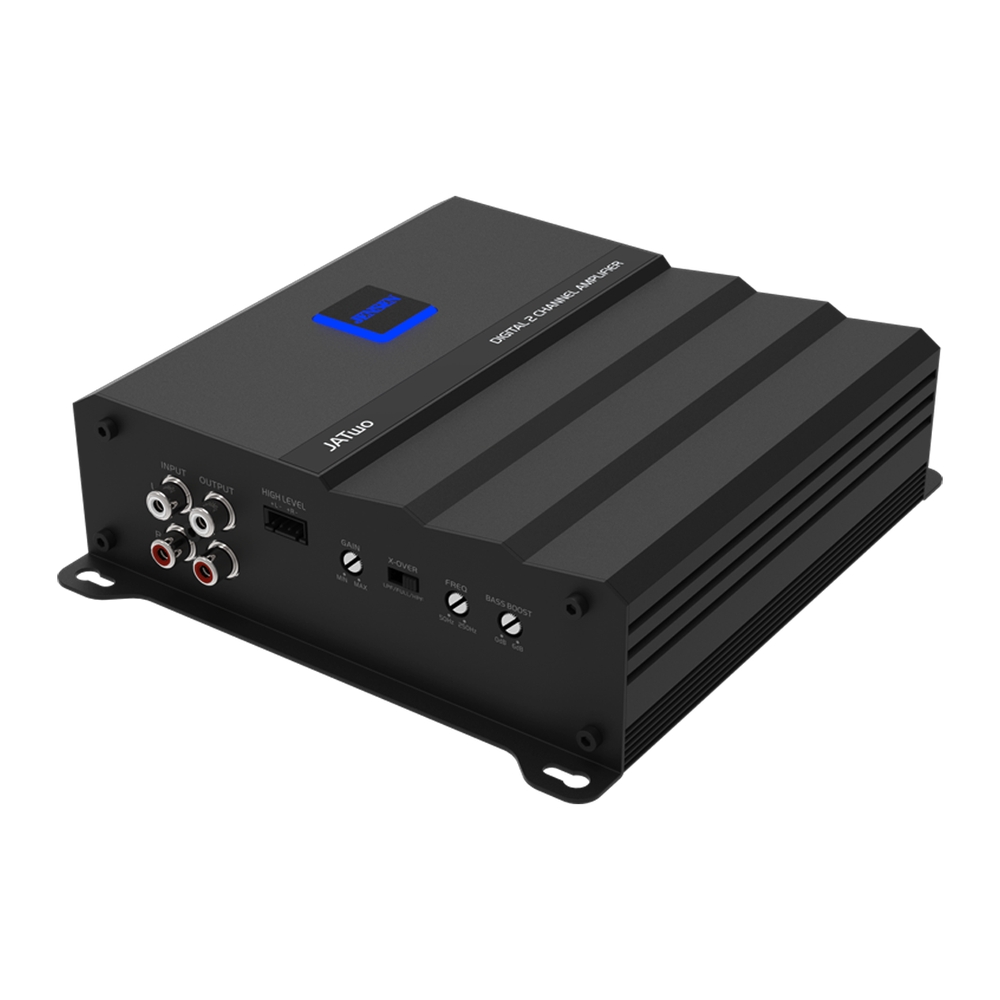
2-Channel Class D MOSFET Amp
JATwo
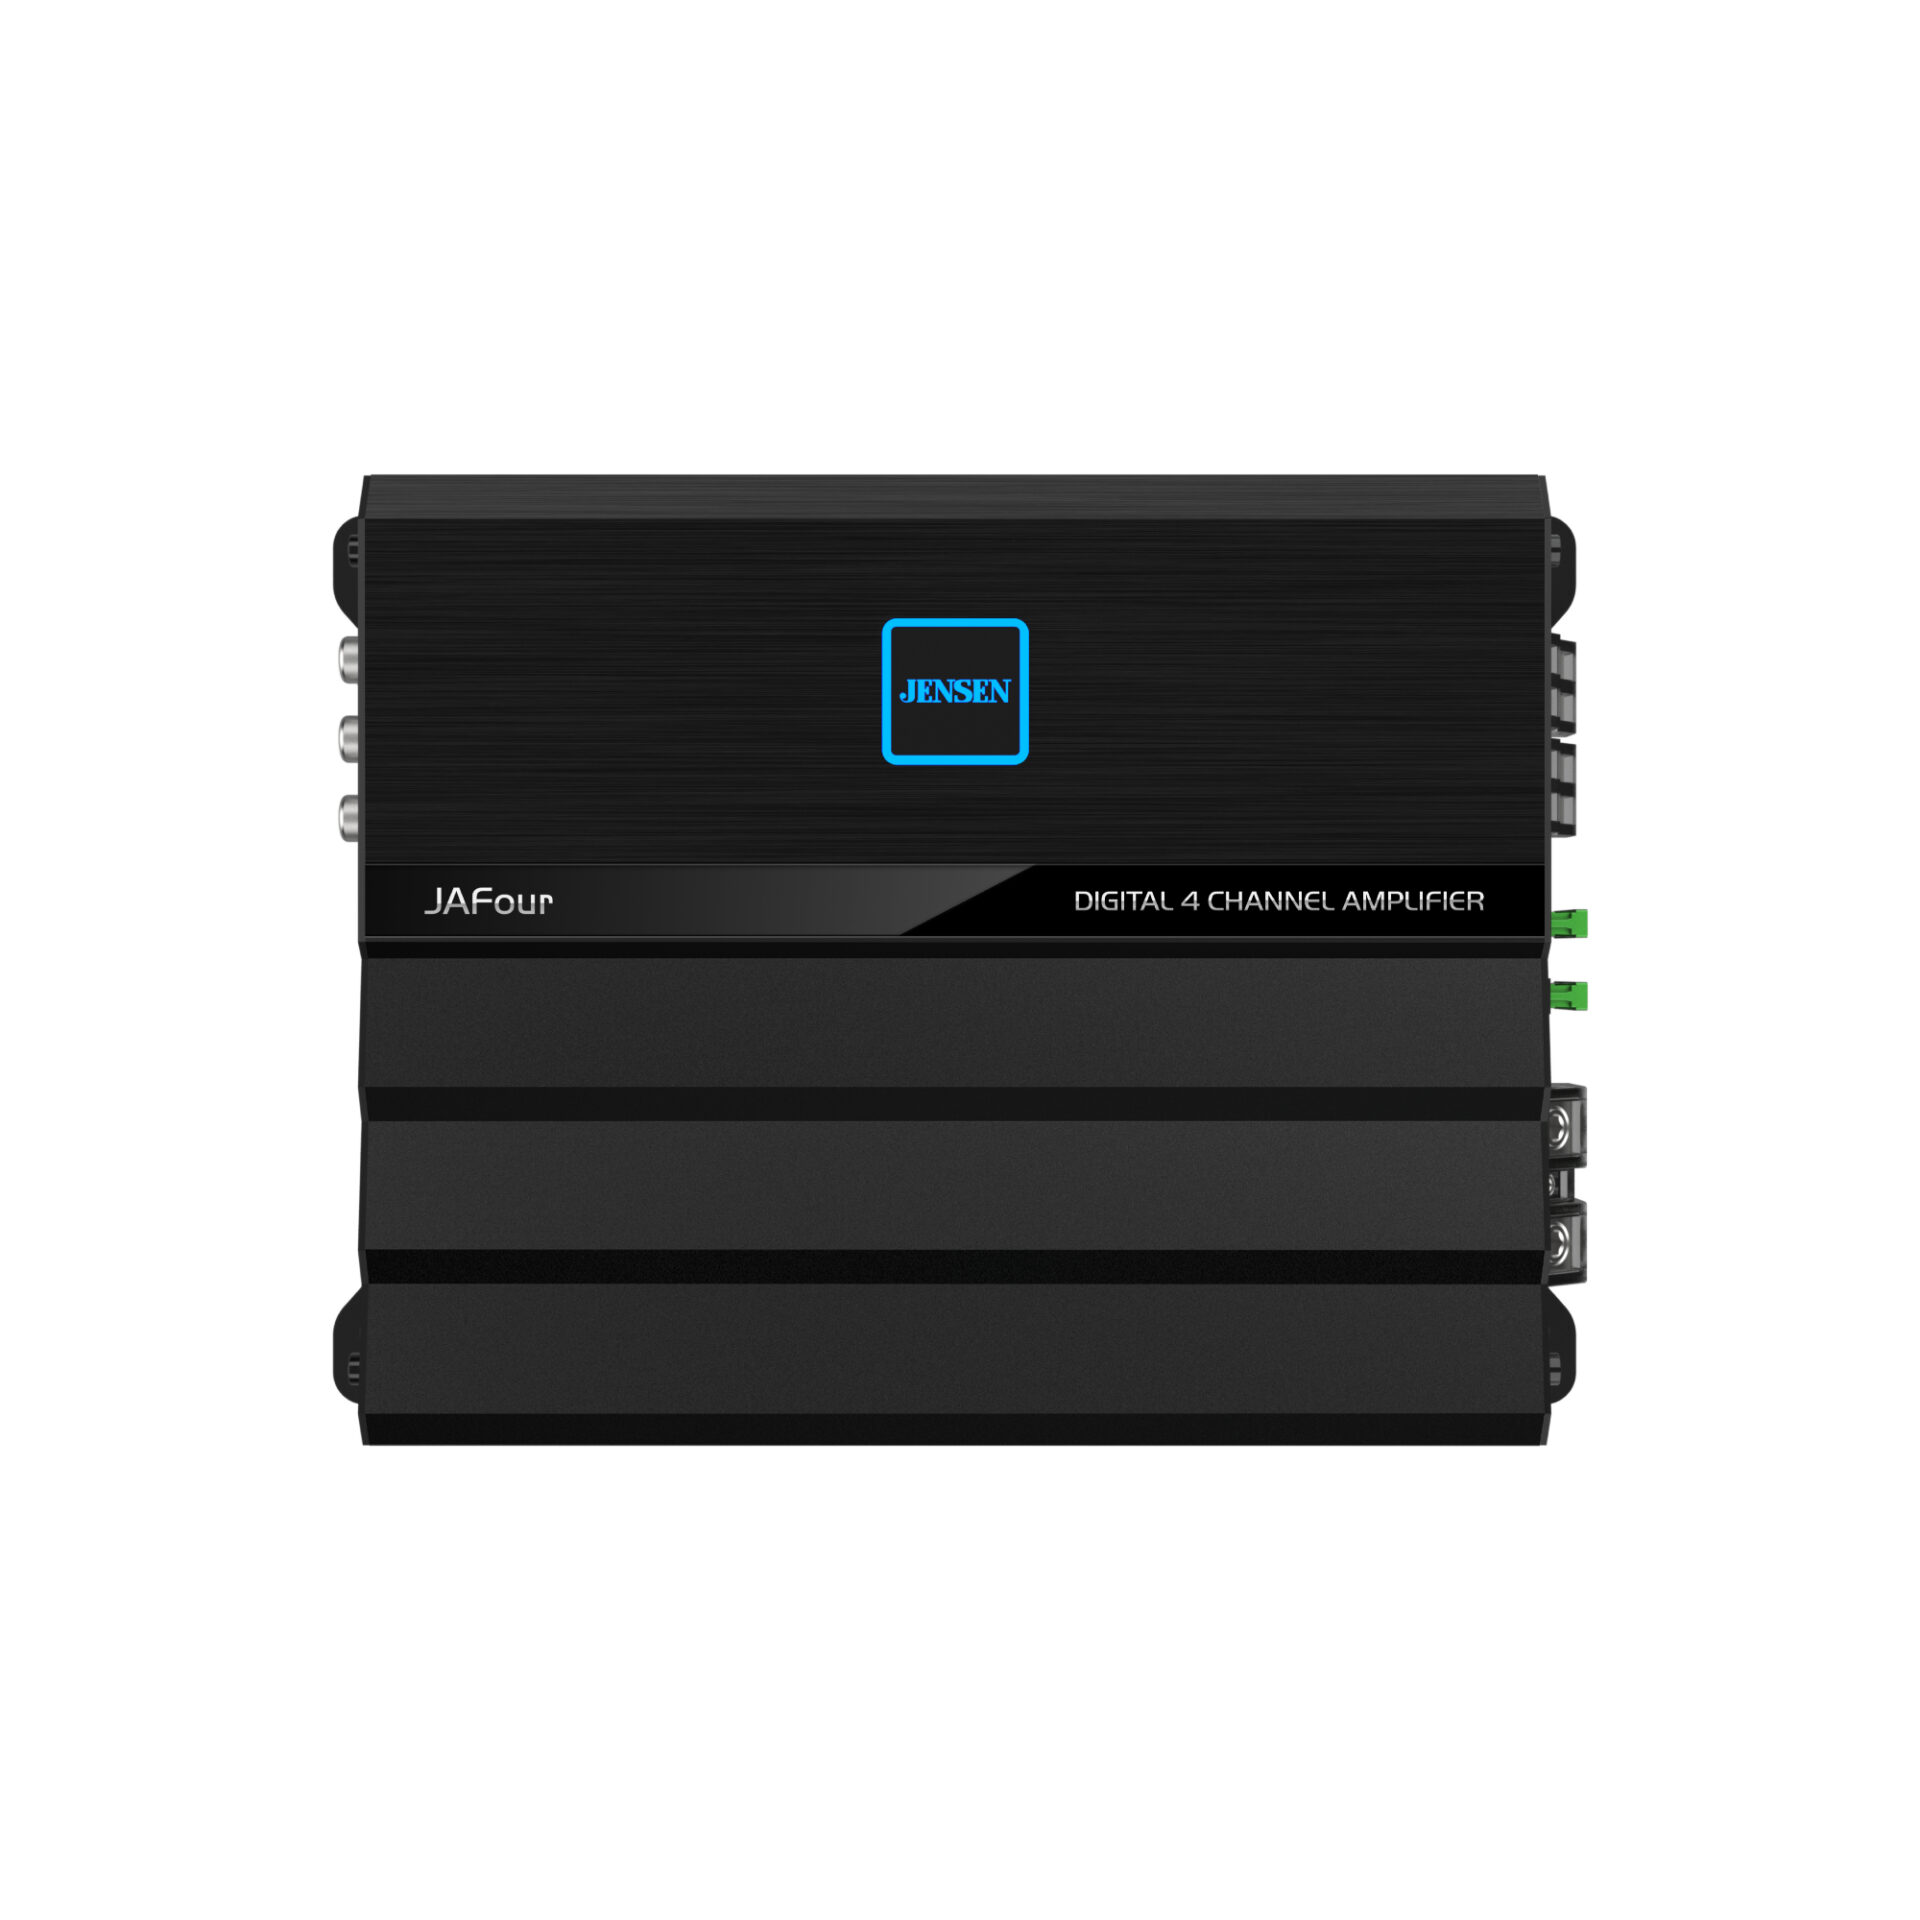
4-Channel Class D MOSFET Amp
JAFour
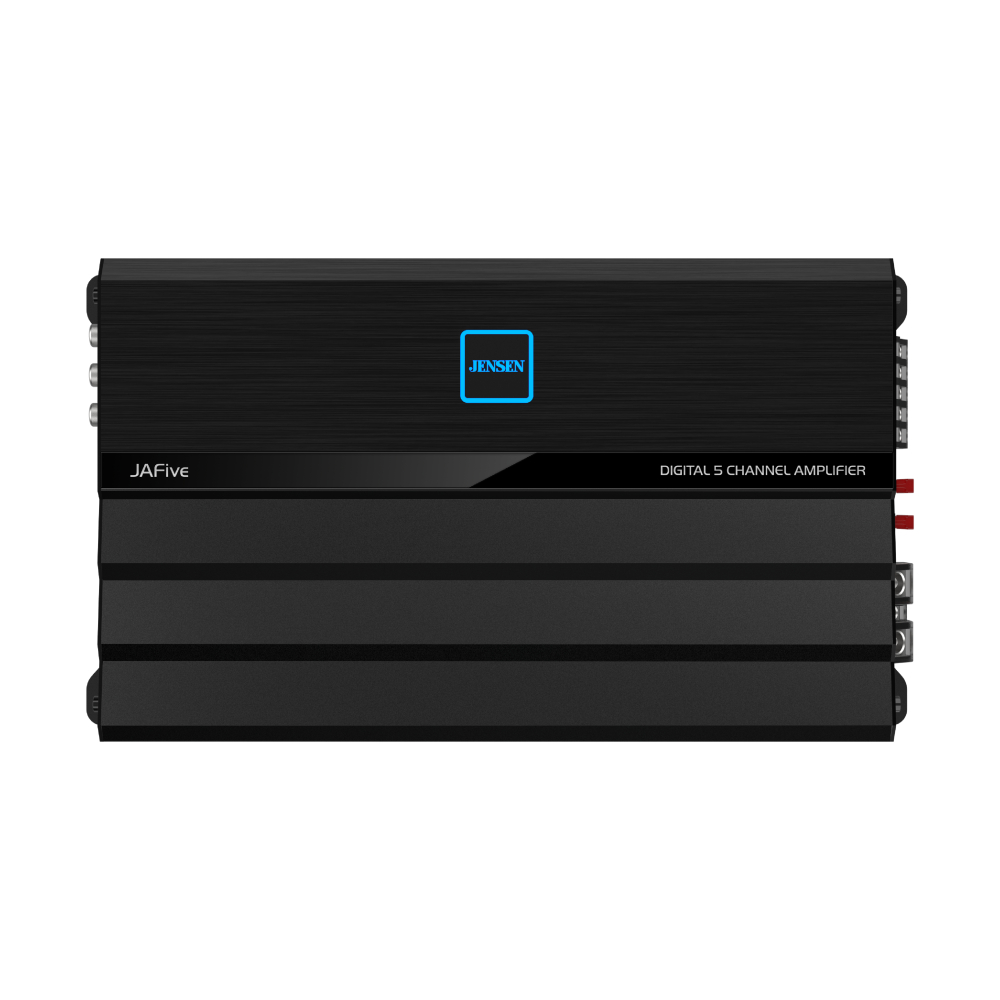
5-Channel Class D MOSFET Amp
JAFive

Universal Backup Camera
BUCAM200J
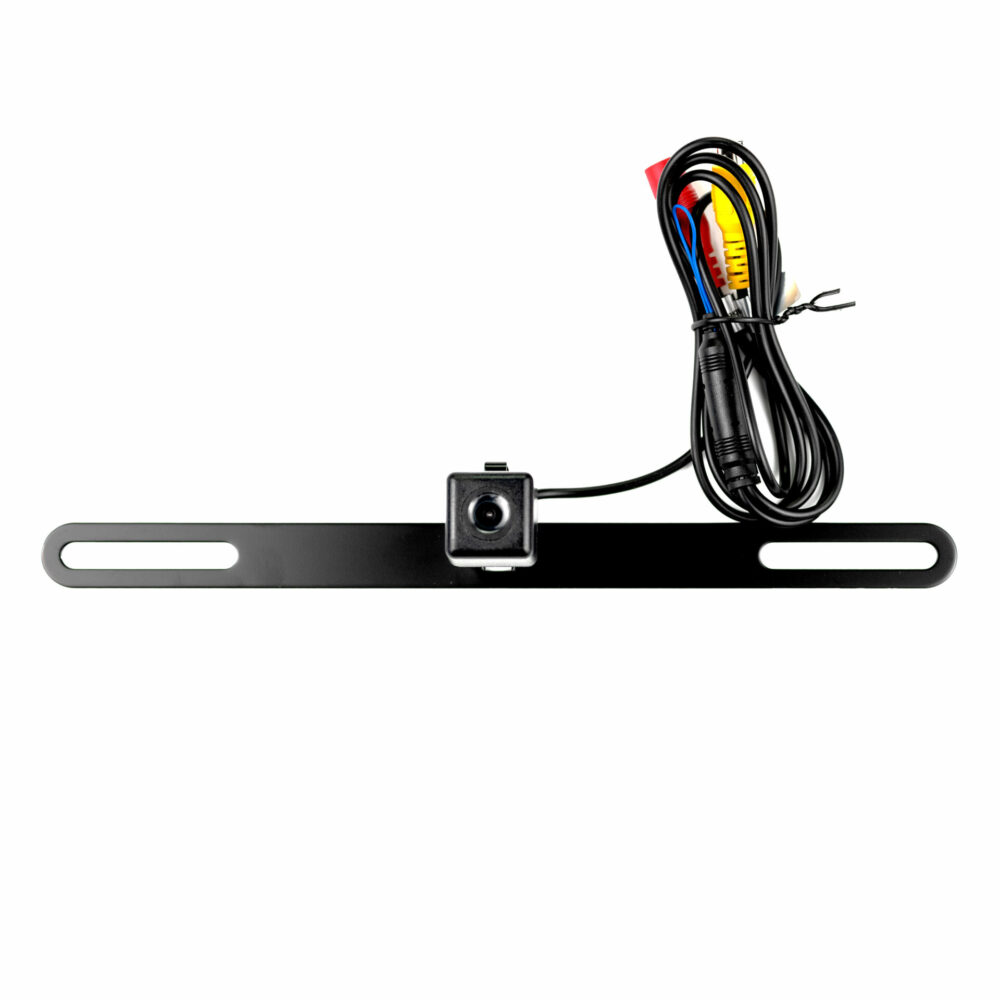
Universal Backup Camera
BUCAM350